Thursday, December 18, 2008

Mile 237,010: Rear sway bar disconnect

Hey, long time no see. Haven't written in a while, been dealing with finals and such...which, unfortunately, ranks just slightly more important than jeeping. To make it up to you guys, I have a bunch of new articles to write, which I'll try writing once a day. For today: how to remove your rear sway bar.
A quick note about the title: this project was actually done about 500 miles ago.

WHAT'S A SWAY BAR??
A sway bar (also stabilizer bar, anti-sway bar, roll bar, or anti-roll bar, ARB) is an automobile suspension device. It connects opposite (left/right) wheels together through short lever arms linked by a torsion spring. A sway bar increases the suspension's roll stiffness—its resistance to roll in turns, independent of its spring rate in the vertical direction.

Translation: it keeps one side of your suspension from contracting more than the other, which in turn keeps the vehicle stable on turns at the price of reduced articulation.

Safety note: Removing your rear sway bar will not make your vehicle unsafe, but it will pitch quite a bit more when driving it. Keep this in mind, ease back into driving it and get a good feel for it.

What you will need:
A buddy (no really, they'll cut the time to do this in half)
Breaker bar
WD-40 (optional, but really helps)
PB Blaster (optional, but really helps)
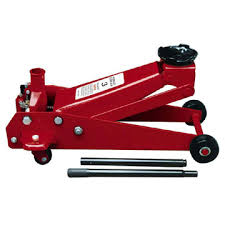
Jack
Two jackstands
Lug wrench/lug fittings
Wrenches, either ratchet or box. (I totally forgot the size.)

Difficulty rating:
2 Wrenches out of 5. Requires ability to identify a sway bar, but no special skills needed other than that.

Dirty rating:
1 Dirty rag of 5. Most of the dirt in this area is kicked up from the road. You can help this quite a bit by washing your rear undercarriage really good before you do this repair at a do-it-yourself wash.

Time:
About 30 minutes.


To begin: jack up the rear axle, placing each end on jackstands and remove the rear tires. You can either begin on the left or right side, but you will repeat the process on the other side as well.
To begin, remove the outer U-joint attached to the axle. Your axle will not fall, but this releases where the sway bar is connected to the axle itself. If you have trouble getting any bolts/nuts loose, put some PB blaster on and wait a little while. WD-40 helps too.
Photobucket

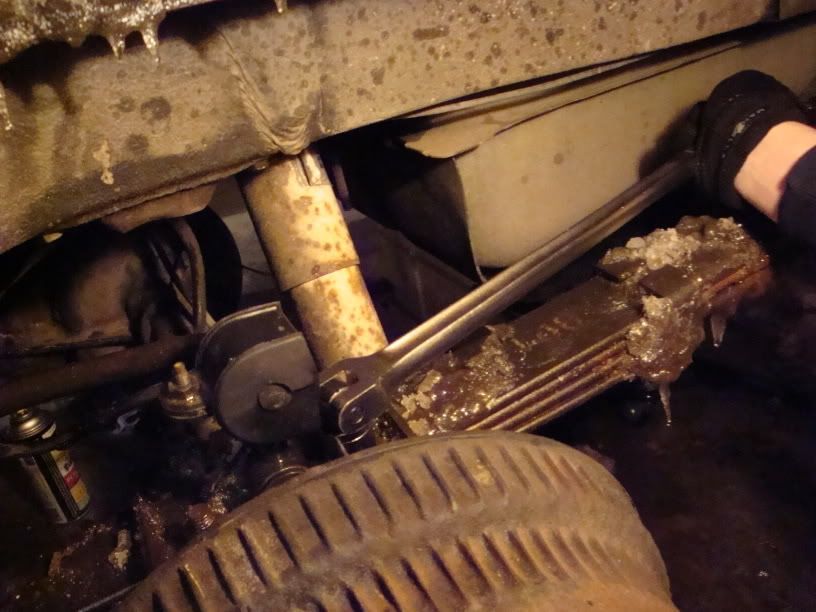
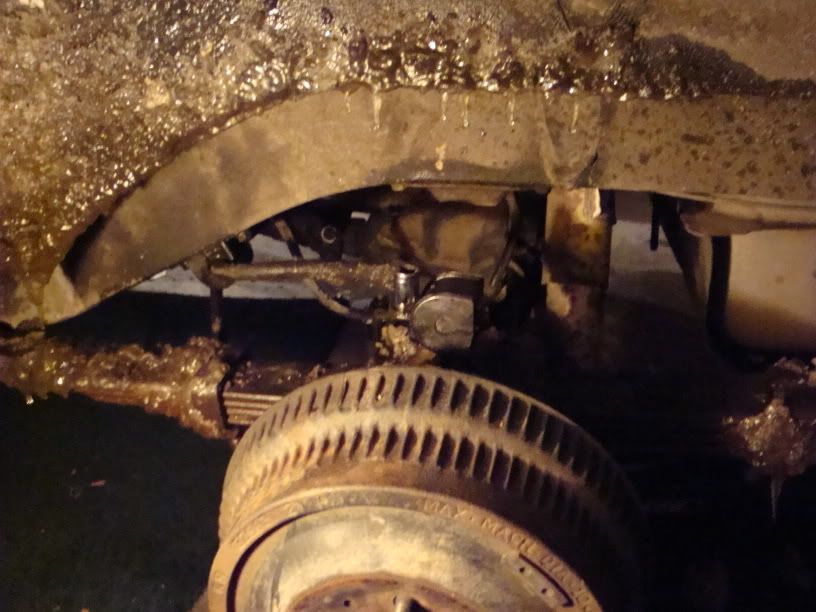
Move the sway bar up as much as possible, have your buddy hold the sway bar up and rebolt your u-joint. and torque it tight. Repeat this process on the other side of the vehicle. Once you have removed the sway bar from the axle, now disconnect it from the unibody. In this picture here, you can see the two spots the sway bar mounts to the unibody in the top left, along the black bar. There is a ratchet fitting seen center, this is sitting on the sway bar as an identifier only, and this fitting takes no role in the removal of the rear sway bar. Follow the bar left from the ratchet fitting to the unibody of the vehicle. The mounting bracket here is what you will remove.
Rearswaybardisco001.jpg picture by korinthan
After you have removed these bolts, the sway bar will be free from the vehicle. Pull it out and set it aside. If you so desire, this piece can be cannabalized for parts. Reattach the wheels and lower your jeep back down.

Congratulations! You have just increased your articulation!
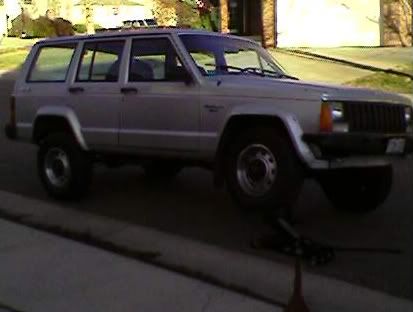
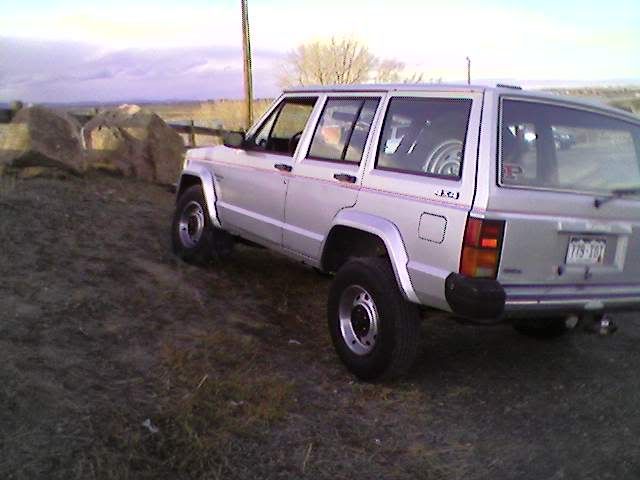
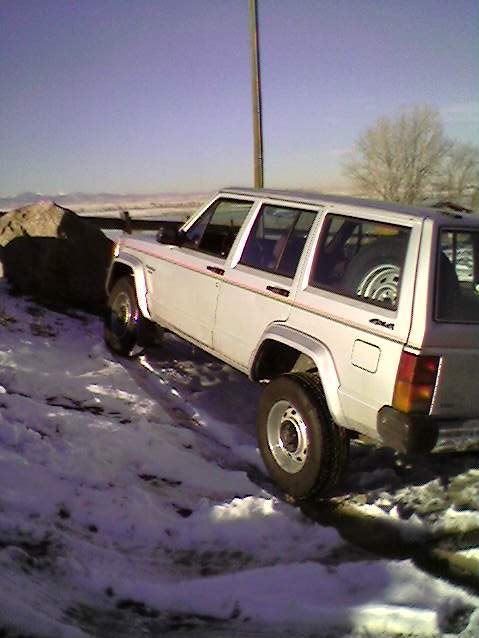
Here's some before/after pictures.
Before:
1202081556.jpg picture by korinthan
1202081534.jpg picture by korinthan

After:

1210081434.jpg picture by korinthan
1212081007.jpg picture by korinthan

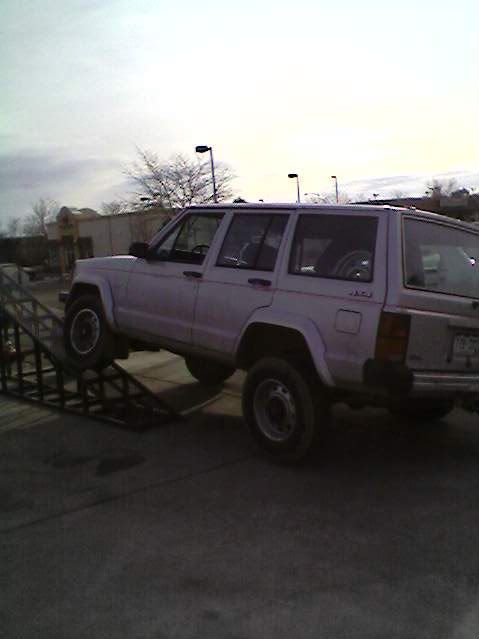
As you can see, I have much more articulation. My RTI score (Ramp travel index: distance the front wheel on either side can be above the wheel behind it when one of the front wheels is up off the ground.) went up from about 382 to 443, which is good. It handles a little differently, taking a little bit more effort (not much, just barely noticeable) to hold the wheel around a turn, it also pitches a little bit more on the turn. I have a much easier time keeping the back end from skidding, the result of something called 'understeer.' In winter time, this is huge. I have much better traction overall after this project.

Until next time,
1,000,000 Miles Strong.

Tuesday, December 2, 2008

Mile 236,567: RTI Test Simulation (With howto)

So thanks to me seeing someone else do this, I did an RTI test with a jack, took pics too. Measured clearance from ground to the tire in the air was 13", all four tires had contact with the ground. Here's a picture of me doing the test. I scored a 376.


Here's a stretch photo:


I did this as kind of a baseline test before I started modding, also wanted to describe how to do this kind of RTI test (as well as how to get your score)

An RTI Test is defined as such (sited from 4lo.com)
Ramp Travel Index is based on climbing a 20 degree ramp with one tire while keeping the trailing tire in line. At the point where any tire begins to lift into the air is where it's calculated. Measure from the bottom of the ramp to the center of the bottom of the tire (use a plumb from the hub to find center). This distance traveled in inches is divided by the wheelbase in inches and multiplied by 1000. What this gives you is a percentage of travel up the ramp in relation to your wheelbase.

Formula:
RTI = Tire Height/sin(20*PI/180)/Wheelbase*1000

Things you will need:
- 2 jacks or one jackstand and one jack, one of which should be the floorjack style and the other should be a straight-up design and preferably mechanical (such as a scissor lift)

Note: The jackstand is a safety measurement and is not required, but HIGHLY RECOMMENDED!

- Tape measure
- Wheelbase measurement (101" on XJ's) (http://www.cherokeeforum.com/showthread.php?t=6345)
- RTI Calculation formula/calculator (http://www.4lo.com/calc/rticalc.htm)

Extra skills and things needed:
- 4wd Engaged
- A good sense of safety/smarts
- Ability to operate jack

This project is rated at 0 of 5 dirty rags (my hands are still clean, some ground crawling) and 1 of 5 wrenches (some special stuff needed, must know jack points and jack capabilities)

Quick note: Having a jack that lifts straight up (such as a scissor lift or bottle-style jack) is extremely handy, as hydraulic arm jacks will more easily dislodge at the higher end of their lifting capability, this may not be an issue on SMOOTH pavement.

Before you begin, make SURE your 4wd is engaged and emergency brake is on. This will keep your front wheel from having too much play in it when you lift it. If you do not engage 4wd or take other such safety measures, you risk heavy machinery (such as your vehicle and the jack) moving at high speeds in close proximity to each other AND YOU. Also make sure all of your tires are properly inflated to avoid a blowout.

To begin, lift up your front wheel (pick either driver's side or passenger side) high enough to fit your jack under the bottom of the tire. Make sure that when you place the jack under the tire, it is located at the BOTTOM of the tire. Very carefully raise the tire, keeping the jackstand as close to the axle as possible (watch your fingers, keep your head low.). Continue to lift your front wheel while watching the back wheel on the same side. As soon as the back wheel breaks free from the ground, lower your front wheel until the back wheel reconnects with the ground. This is the point where you will measure your RTI. Measure from the base of the wheel to the ground. Take this measurement and use it in the RTI calculator linked above. Fill in the Inches tire above ground and Wheelbase Inches section.

Congratulations, you have successfully measured your RTI score!